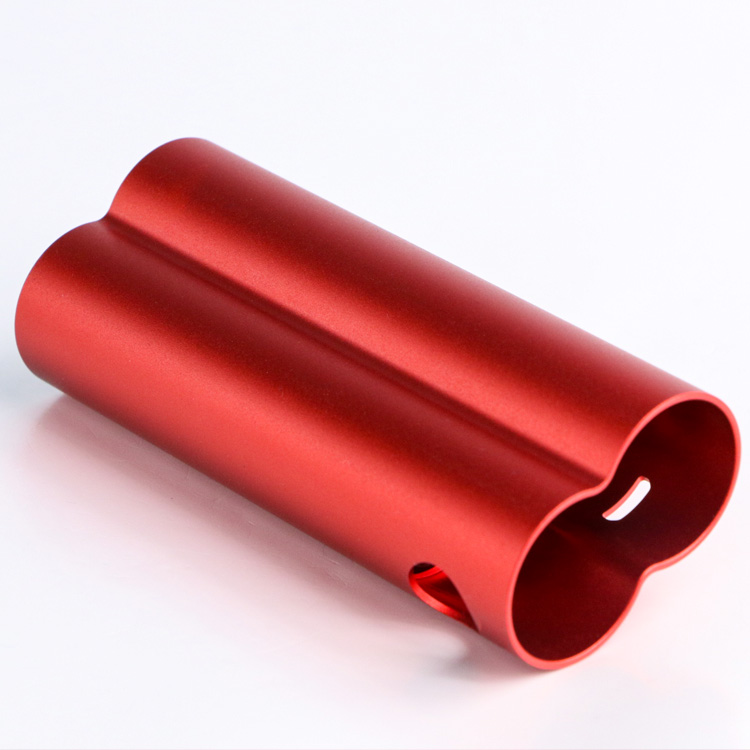
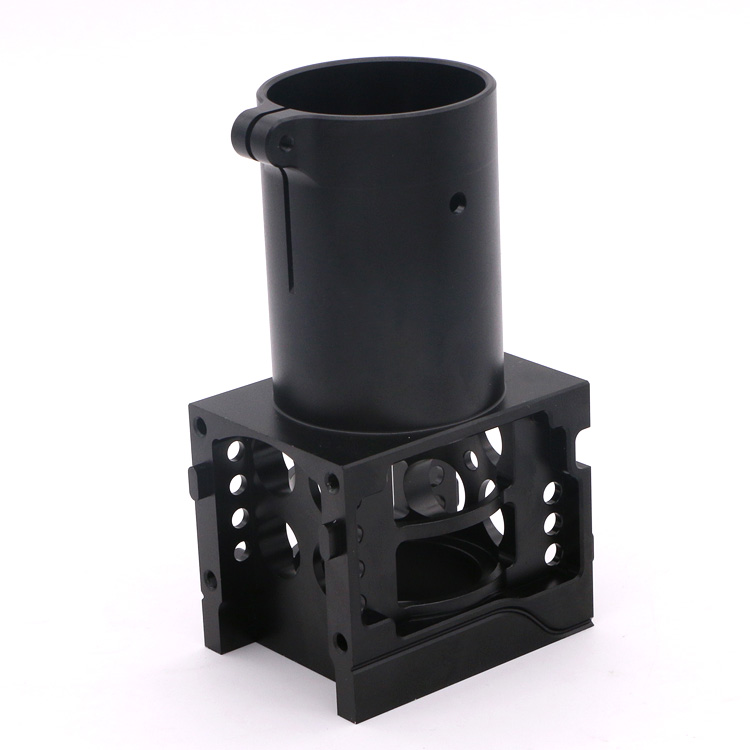
1. Start With the Final Functional Condition
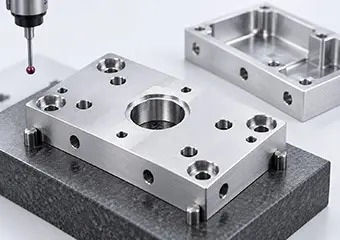
A common mistake in anodized aluminum projects is to judge the part only in its raw machined condition. In practice, the customer does not assemble the raw machined blank. The part is assembled after anodizing. That means critical bores, mating diameters, bearing seats, press-fit features, locating faces and threaded interfaces should all be reviewed in the condition they must meet after the finishing step is complete.
For this reason, VMT recommends clearly identifying which dimensions remain critical after anodizing. Once those features are identified, the engineering team can decide whether the feature should be machined with allowance, protected during anodizing, verified again after finishing or treated as a dedicated inspection point. This reduces a common failure mode: a part that looks dimensionally correct after CNC machining but no longer fits properly after surface treatment.
2. Choose Aluminum Based on Machining and Anodizing Requirements
Material selection should not be based on strength alone. For anodized CNC parts, the material also affects machining behavior, cosmetic appearance, anodizing response, corrosion resistance and cost. In many projects, 6061 is the practical starting point because it offers a good balance of machinability, strength and finishing flexibility. Higher-strength alloys such as 7075 may be more appropriate in structural applications, but appearance-sensitive projects should still validate how the alloy responds once the part is anodized.
The most useful material decision is not the alloy with the highest number on a datasheet. It is the alloy that best supports the required structure, visible surface quality, dimensional target and final application environment together.
3. Surface Preparation Determines Much of the Final Appearance
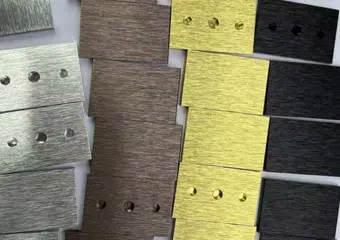
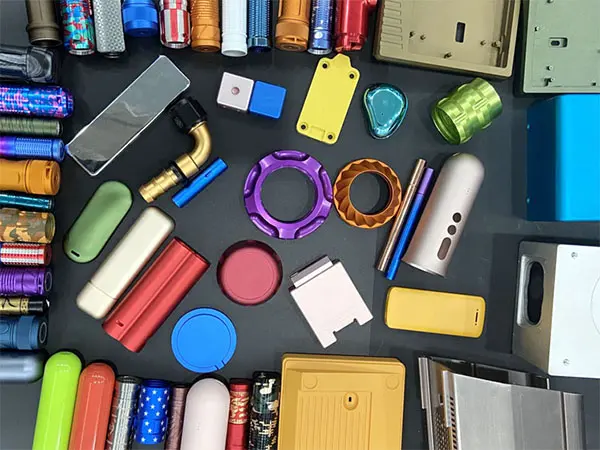
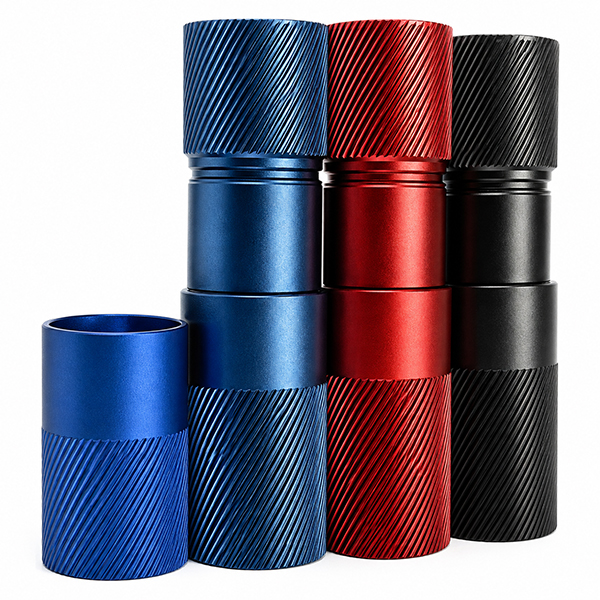
Anodizing does not erase the condition of the surface underneath. As-machined, bead-blasted, brushed and polished aluminum all produce different finished appearances. If the customer expects a smooth, uniform cosmetic finish, that result depends heavily on how the surface is prepared before anodizing. If the project requires a directional brushed look or a controlled matte texture, the preparation method should be agreed before production rather than corrected after the part is already finished.
4. Identify Cosmetic A-Surfaces Before Production
Not every surface on a machined part has the same importance. Some faces are primary visible surfaces, some are secondary visible areas and some are purely functional or hidden after assembly. When all surfaces are treated equally, cost can rise unnecessarily. When visible surfaces are not defined in advance, quality disputes become more likely. Marking A-surfaces clearly helps VMT plan fixture contact, deburring, handling, inspection and packaging around the surfaces that matter most to the customer.
5. Decide Which Areas Need Masking
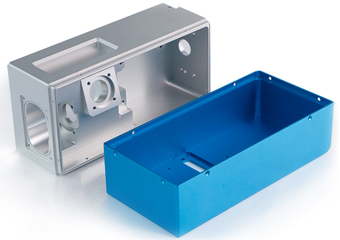
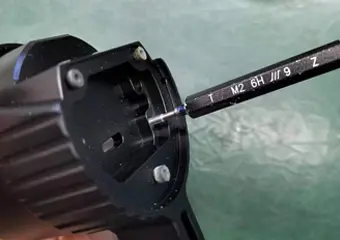
Masking is not a generic finishing step applied to every part in the same way. It should be based on function. Internal threads, precision bores, conductive contact areas, grounding surfaces, press-fit diameters and mating faces are all common examples of features that may need protection, depending on the drawing. Reviewing these features during DFM helps avoid discovering assembly problems after anodizing has already been completed.
6. Plan Rack and Contact Locations Early
Anodizing requires electrical contact, so some contact area is usually unavoidable. The practical question is where the part should be contacted so the process mark does not interfere with appearance or function. Hidden surfaces, assembly interfaces and non-cosmetic edges are often better choices than primary visible faces. When rack locations are planned early, the final part is easier to accept visually.
7. Control Prototype and Production With the Same Standard
A successful prototype should do more than prove that one sample can be made. It should establish a repeatable production reference. That means the approved prototype should help define the material grade, surface preparation route, anodizing type, appearance expectation, masking approach and inspection criteria to be used in later batches. Without this transfer of knowledge, later production can drift even if the original sample looked acceptable.
8. Inspect the Part After Its Final Finish
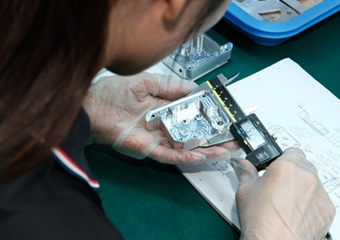
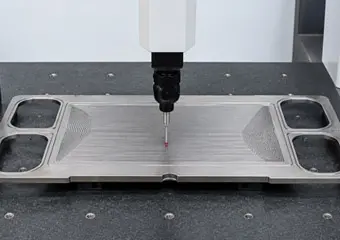
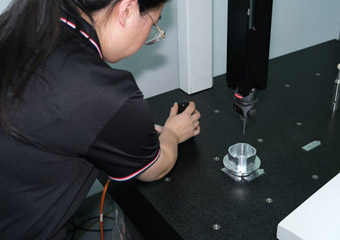
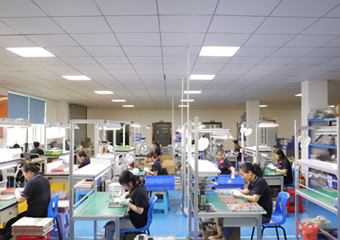
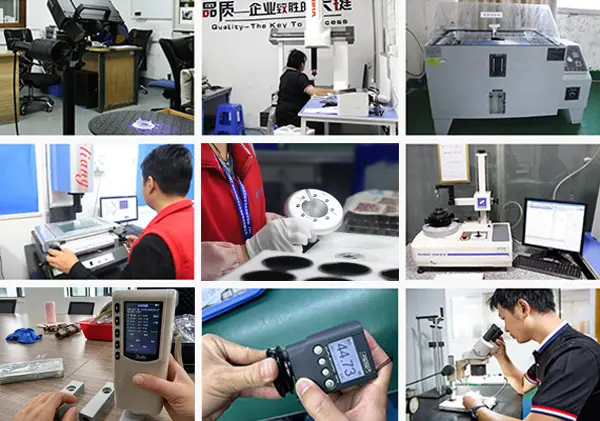
For anodized components, inspection should reflect the final delivered condition. Depending on the project, this can include bore measurement, thread verification, flatness checks, mating-diameter inspection, CMM measurement and cosmetic review. When the customer’s assembly depends on a feature that can be affected by finishing, checking only the pre-anodizing dimension is usually not enough.
9. What Affects the Cost of Anodized Aluminum CNC Parts?
The final price is influenced by more than machining time. Part geometry, aluminum alloy, tolerance level, surface preparation route, anodizing type, masking complexity, cosmetic quality level, inspection scope and order quantity all influence the manufacturing cost. A lower quote is not always the better choice if it does not properly control appearance risk, functional fit or repeat-production consistency.
10. How to Prepare a Better RFQ
A strong RFQ usually includes the 2D drawing, 3D model, alloy specification, anodizing type, target color or appearance reference, critical finished dimensions, cosmetic A-surfaces, masking requirements, quantity and inspection needs. The more clearly this information is prepared, the more accurately VMT can review machining and anodizing as one process instead of quoting only a simplified raw machined part.
 +86 15099911516
  inquiry@vimetal.com.cn





 Related suggestion